
Console Overview
The Copiix Console v3 features a modern, responsive web interface built with Vue.js 3 and Tailwind CSS. The console provides comprehensive control over copy trading operations with an intuitive design that adapts to different screen sizes and user preferences.
Interface Layout
Header Toolbar
The top header contains global controls and navigation elements:
- Fullscreen Toggle: Switch between normal (80% screen) and fullscreen (100% screen) mode
- Theme Switcher: Toggle between light and dark themes with custom background options
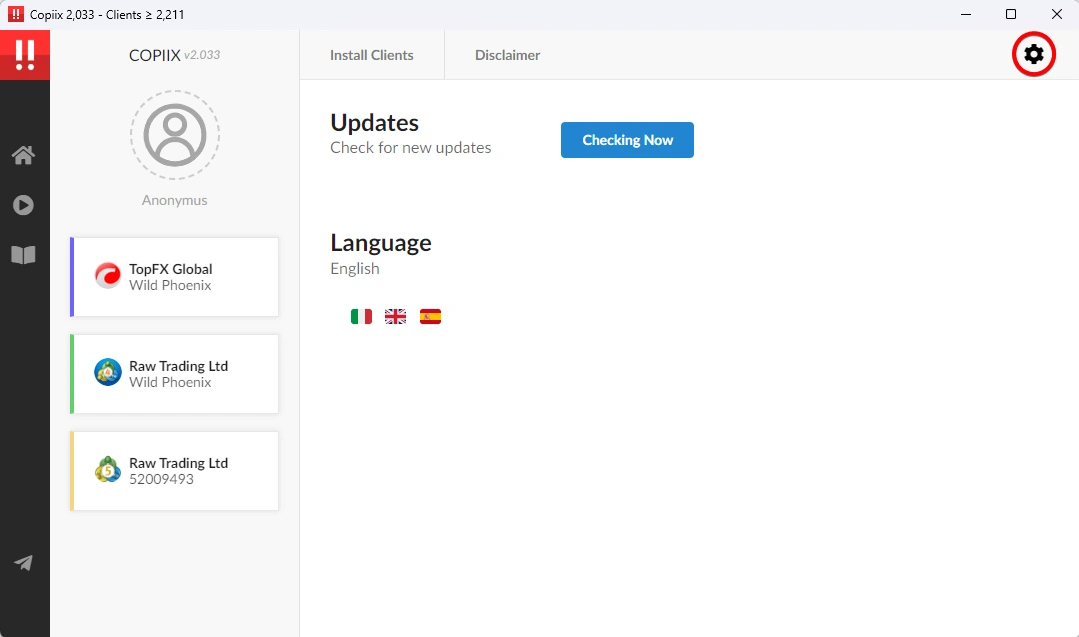
- Language Selector: Choose from 6 supported languages
- User Menu: Access account settings and premium features
Left Sidebar
The sidebar serves as the main navigation hub:
- Menu Items: Quick access to all console functions
- Terminal List: Live display of connected terminals with status indicators
- Video Tutorials: Collection of instructional videos
- Account Management: Premium service access and donation options
Main Content Area
The central area displays dynamic content based on the selected section:
- Dashboard: Overview of active connections and trading status
- Terminal Management: Individual terminal configuration and monitoring
- Settings: Global preferences and system configuration
Theme System
Available Themes
- Light Theme: Clean, bright interface with soft color palette
- Dark Theme: Reduced eye strain with dark background and contrasting elements
Custom Backgrounds
Premium users can access additional background styles:
- bg-deep: Deep gradient background
- bg-fluid: Fluid motion background
- bg-polygon: Geometric polygon pattern
- bg-sprinkle: Animated particle background
- bg-yacht: Luxury yacht-inspired design
Responsive Design
The interface automatically adapts to different screen sizes:
- Desktop: Full feature layout with expanded sidebar
- Tablet: Condensed layout with collapsible sidebar
- Mobile: Optimized touch interface with drawer navigation
Settings
Here, you’ll find all the console parameters and customization options, like changing the language and check new updates.
Sidebar
On the left, you'll find the sidebar, here you'll find all the functions of the console, in the Video section you can find a collection of tutorials that will help you better understand the functionality of Copiix, while in the Account section you can manage the additional services dedicated to those who make a donation to support this project.
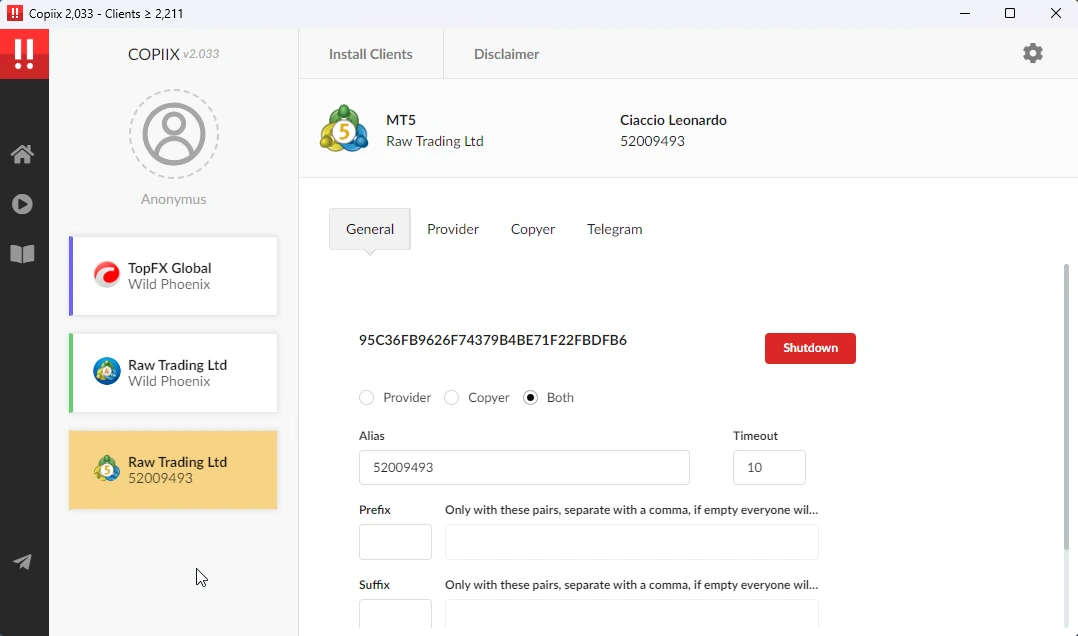
List of Terminals
Every time you launch Copiix on a terminal, it shows up in this list with detailed status information:
Color Coding System:
- Purple: Provider terminal (sending signals)
- Green: Copyer terminal (receiving signals)
- Orange: Dual mode (both provider and copyer)
- Red: Error or disconnected state
- Gray: Inactive or paused
Terminal Information Display:
- Platform type (MT4, MT5, cTrader)
- Account number and broker
- Balance and equity
- Active strategy or EA name
- Performance metrics (profit/loss, win rate)
Interactive Features
Network Map
Visual representation of terminal connections showing:
- Data flow between providers and copyers
- Real-time trade synchronization status
- Network topology and relationship mapping
- Performance metrics overlay
Real-time Monitoring
- Live trade execution status
- Connection quality indicators
- Latency measurements
- Error tracking and alerts
Quick Actions
Context-sensitive controls for rapid terminal management:
- Start/stop copying
- Pause/resume operations
- Emergency stop all trades
- Quick parameter adjustments